Living in an older house could cause you to find that some of your walls or ceilings seem to droop or sag. Though it may not appear significant at first, it’s typically a clue that something under isn’t holding up well. It can look like a mild dip or wave on the surface. Age, water damage, incorrect installation, or insulating weight can all lead to this. Over the years, even gravity has had a part. The bright news is that you should not usually replace the whole drywall panel. While also making drooping drywall safer, you may patch it and improve its appearance with the correct equipment, patience, and basic knowledge-how. Let’s examine the reasons, indicators, equipment, and techniques anyone can use to correct drooping drywall.
What Causes Drywall to Start Sagging?
Oftentimes, sagging drywall indicates that the materials used to hold it in place are no longer sufficient. In older houses, the screws or nails used during installation might have come free. If adhesive had been applied, it might have dried out or grown brittle over time. Water leaks or inadequate attic insulation might cause drywall panels to soften or perhaps compromise the ceiling joists supporting them.
Another typical reason is humidity. Particularly without a vapor barrier, moisture from bathrooms, kitchens, or roof leaks can find their way into the walls. Wet drywall gets heavy; when it can’t hold itself up, it begins to sag. Though it may start tiny, improper handling of the issue could cause cracks or even falling panels.
Sometimes drywall put on ceilings using just glue, and no mechanical fasteners is more likely to slump. The glue weakens over time, and the board separates from the ceiling joists.
How to Spot Signs of Sagging Early
Often beginning with a small curve or wave in the surface, a sagging drywall ceiling. This may be more obvious when the lights are off or when sunlight strikes the space from an angle. You could also find minor seams opening up or cracks. A caution is indicated if you gently press a portion of drywall and it feels soft.
Another clue to search for are nail pops, little circles created by screws or drywall nails protruding from the surface. This indicates that the fasteners are dragging free, a common cause of sagging.
Particularly where the ceiling meets the wall, keep in mind to examine edges and corners. If the tape is bubbling or peeling, the drywall may be moving or drooping close to the junction.
Securing Loose Sections With Screws
Reaching back the drywall to the wall studs or ceiling joists comes first. Where the wood framing is behind the drywall, use a stud finder. Without one, run a powerful magnet across the surface to locate the screws or nails in the joists.
Mark the framing, then drive drywall screws every six to eight inches along the joists into the sagging drywall. Working outward to flatten the droop, start in its middle. Watch not to overtighten the screws. They should be somewhat below the surface without breaking the paper layer.
If a big region is drooping, you might choose to add furring strips. To enable the board to be pulled up and kept flat, you screw thin wooden boards through the drywall and into the joists. Once set up, you can paint later and mud over the stripes.
Replacing Small Damaged Drywall Sections
Occasionally the sag results from damage too far gone for simple screw repair. In such a situation, it’s advisable to patch and cut off the negative aspects. Cut around the drooping portion a square or rectangle using a utility knife, or drywall saw.
Measure the opening once the damaged drywall is taken down, and cut a fresh piece of drywall to fit. Make sure the new piece is flat with the surface around it when screwed in place.
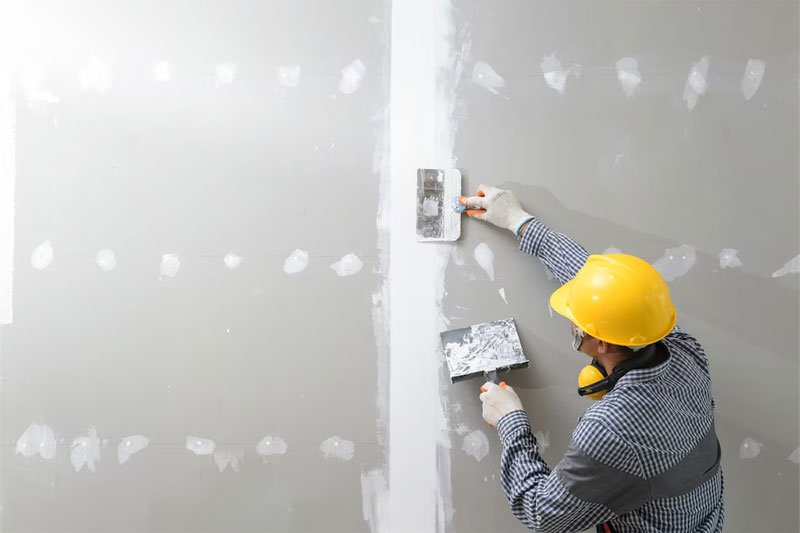
Then, tape drywall along the joints. Cover the tape with drywall compound using a putty knife, feathering the edges to create smoothness. Usually, for 24 hours, let it completely dry; then, gently sand it and, if necessary, apply a second coat. Continue until the patch harmonizes.
How to Finish and Paint the Area
It’s time to match the remainder of the room after the restoration is solid and seamless. Clean sanding dust using a moist towel. Then, prim the mended area, especially if you used a fresh compound or installed a new drywall patch. Prime offers an even hue and helps the paint stick.
Paint the area like the rest of the wall or ceiling once the primer dries. If the original paint fades, you might have to paint the entire wall or ceiling to better match.
On bigger surfaces, use a roller; on edges or corners, use a brush. If a second coat is applied, let the previous one dry first. Besides improving the appearance of the repair, proper painting guards it from moisture and grime.
When to Call a Professional
Many homeowners can patiently and carefully fix slight drooping. Sometimes, though, calling a specialist is more advisable. Get a professional involved if your ceiling droops in several spots and shows evidence of water damage, mold, or electrical issues.
Someone with experience also handles structural difficulties such as damaged joists or insulation concerns. Examining the matter closely, a specialist can ensure that no more significant problems lurk under the surface.
Hiring assistance can also save time and lower the risk of damage if you find yourself uncomfortable on ladders or lack the necessary tools.
Conclusion
Though it may seem like a minor problem, sagging drywall can compromise the safety of your house and affect its appearance; correcting it will assist in maintaining its integrity. Whether you’re rebuilding portions, fastening them with screws, or repainting, the work may be completed with simple tools and a consistent hand. Just slow down and look for any indications of more serious issues, such as mold or leakage. Ultimately, repairing sagging drywall in older houses is about keeping ahead of wear and tear before a minor dip becomes a major one.