A weekend paint job should feel fun, not stressful. Yet small slip-ups can leave lines, drips, and dull patches that steal the joy. This blog shows you what goes wrong most often—and how to fix it fast. Let’s keep it simple, because prep, timing, and the right tools make all the difference. You’ll learn to spot common painting mistakes before they happen, keep a wet edge, and choose products that actually last. As a result, your next room will look clean, smooth, and bright—without do-overs.
1) Skipping Prep Is One of the Common Painting Mistakes
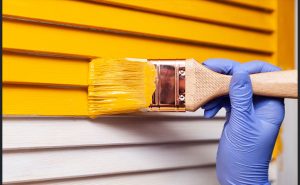
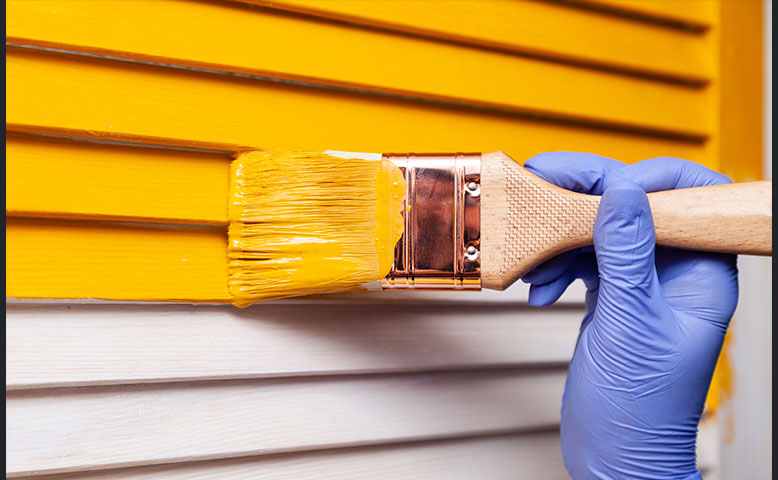
Prep is not glamorous, yet it decides the finish. Dust, grease, and glossy spots make paint slide or peel. Wash walls with mild soap and water, rinse, and dry. Fill nail holes and dents, sand smooth, and feather edges. Finally, de-gloss shiny trim with a scuff pad and use primer where repairs or stains exist. Because paint sticks to clean, dull, and dry surfaces, this order saves time later. Peel tape slowly at a 45° angle while the paint is tacky to avoid tearing.
2) Using The Wrong Tape (Or No Tape at All)
Painter’s tape varies by surface and tack. Therefore, wrong tape bleeds or pulls fresh paint. Choose a clean-release tape and burnish the edge with a putty knife for crisp lines. Remove it slowly once the paint is just dry to the touch. Also, label tape rolls so you remember where each belongs. This simple habit prevents drips along trim and keeps corners sharp. When you plan edges first, you move faster and feel calmer because each wall flows into the next with less touch-up. This also cuts down DIY painting errors.
Set a rhythm: cut in one wall, roll that wall, then move on. As a result, edges and fields blend while still wet. If you wait too long, the line shows. Keep a damp rag handy for quick cleanups, and press tape again if it lifts on textured areas. Work in smaller zones so focus stays high and stress stays low.
3) Rushing Coats and Causing Lap Marks
Rolling across a half-dry area leaves stripes that look like railroad tracks. To prevent this, keep a wet edge and roll from dry into wet with light pressure. Load the roller fully and work in overlapping W-patterns. If you see bands, let the wall cure, then lightly sand and add a thin, even coat. When someone asks how to fix uneven paint, the real answer is patience: wait the full recoat time on the can, then blend gently across the whole panel for a level look.
4) Picking The Wrong Sheen for the Room
Sheen affects both look and cleaning. Matte hides flaws but scuffs; satin and semi-gloss clean easier but show roller lines more. For busy halls or kids’ rooms, satin often wins; for ceilings, go flat. Bedrooms can shine with eggshell because it softens light. Moreover, keep one brand system—primer and topcoat—so the sheen stays consistent.
Use flat for ceilings.
Try eggshell for living areas.
Choose satin for moisture-prone spaces.
These interior painting tips reduce touch-ups and boost confidence without extra cost.
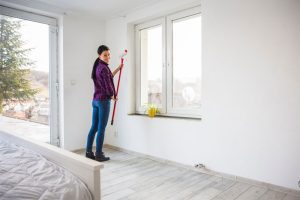
5) Ignoring Dry Time and Humidity
Paint needs time and the right air. High humidity slows drying and weakens adhesion, while hot sun bakes surfaces too fast. Aim for moderate temps and steady airflow. Inside, dehumidify and keep rooms around 24–25°C with balanced humidity. Outside, avoid scorching mid-day and damp mornings; mid-morning or late afternoon is safer. Watching the weather and waiting between coats helps prevent peeling, flashing, and streaks—another guardrail against common painting mistakes. Follow the can’s recoat window, then test in a corner before full coverage.
Quick Tool Checklist to Work Smarter
Good gear means smoother days. Gather a sturdy ladder, an angled sash brush, 3/8″ and 1/2″ rollers, an extension pole, quality tape, a metal paint tray, liners, and a 5-in-1 tool. Because clean tools work better, rinse rollers until the water runs clear and spin them dry. Keep a small touch-up pot labeled for each room. Store brushes wrapped in plastic if you pause for lunch. Write the color and sheen on the lid. Clear notes reduce stress later and keep results consistent. This is where Mendez Painting PNW pros also start: with prep and tools dialed in.
When To DIY And When to Call Pros in Renton
Some rooms are perfect for a weekend project. Others need ladders, special primers, or big repairs. If your space has peeling trim, smoke stains, or high ceilings, a pro can save time and reduce waste. Likewise, if schedules are tight, consider booking interior painting services in Renton WA, for efficient prep, safe setup, and a predictable timeline. Ask for dust control, low-odor paints, and a clear plan for furniture protection. With a solid scope and written prep steps, you’ll know exactly what happens each day.
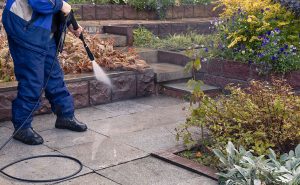
Weather & Timing for Long-Lasting Results
Outdoors, timing is everything. Plan around a dry stretch and steady temps. Avoid wet mornings and blazing sun, then let coats cure before dew returns at night. Because surface temps can run hotter than air temps, test the siding before you paint. If it’s too hot to touch, wait. For fences and fascia, work in shade bands that move with the sun so the coat levels. This is key for exterior painting Renton WA, where rain can roll in fast.
Sheen Choices As Under:
| Room/Use | Better for Touch-ups | Easier to Clean | Typical Pick |
| Ceilings | Yes | No | Flat/Matte |
| Living Rooms | Moderate | Moderate | Eggshell |
| Kitchens/Baths | Low | High | Satin/Semi-gloss |
Because sheen affects both care and look, test a sample board under real room light before you commit. That habit alone cuts common painting mistakes later.
Simple, Low-Stress Steps That Keep You Moving
Small habits add up fast. Therefore, strain paint before pouring, label each wall as you finish, and keep floors covered until hardware is back on. Start early so you’re never pushing a second coat late at night. For trim, hold the brush closer to the ferrule for control. Then, tip off lightly to erase marks. Keep notes on brand, color, and date. These records help you avoid DIY painting errors when it’s time for touch-ups.
Need A Pro Touch Without the Headache?
When the room is tall, time is short, or stains keep returning, bring in friendly local experts. They’ll set surface moisture targets, map the order of rooms, and plan around kids and pets so life keeps flowing. As a result, your space looks fresh and stays that way. For a smooth start and a clean finish, call Mendez Painting PNW—and enjoy your new color sooner.